Introduction to VCV UTAU
Though the UTAU software was initially designed to process CV voicebanks, the UTAU community, over time, began to experiment and construct new recording methods. One such technique that developed was referred to as “triphones”, “triphonics”, or 連続音 ( renzokuon ). The approach would later be popularly referred to as VCV, or “Vowel-Consonant-Vowel”. VCV was the second major recording method created by the UTAU community, and it soon became one of the most popular and widely adopted. It is commonly associated with multipitch voicebanks (a UTAU recorded with multiple voicebanks at multiple pitches) to obtain even greater realism.
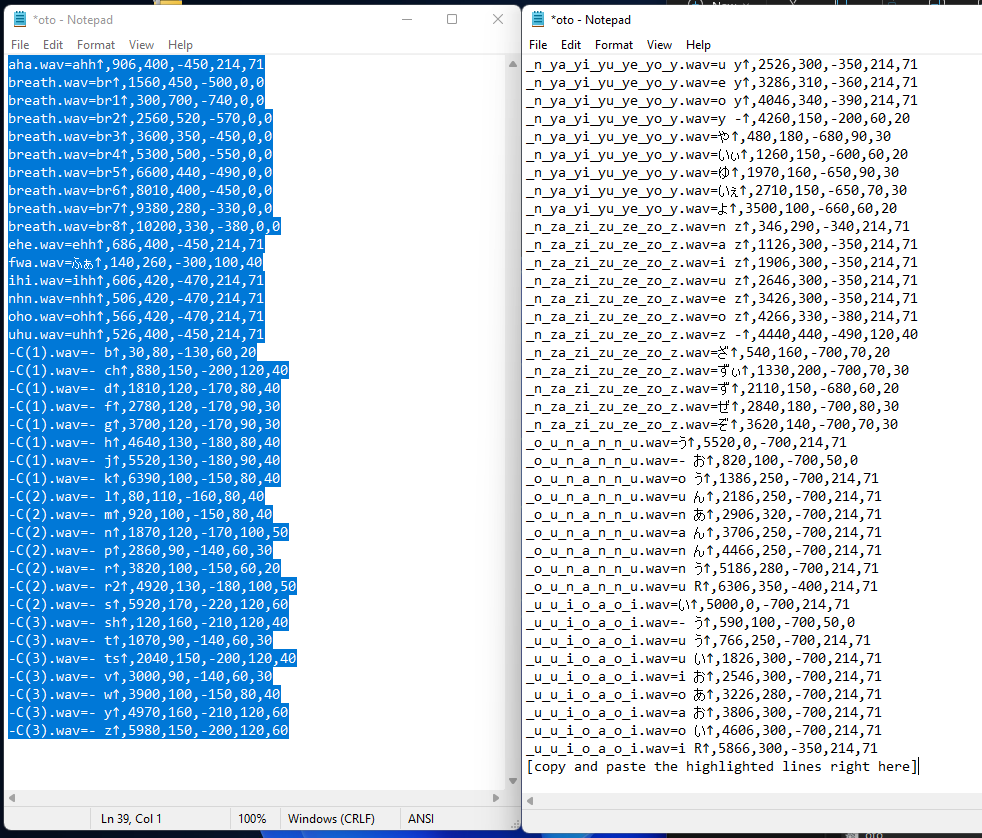
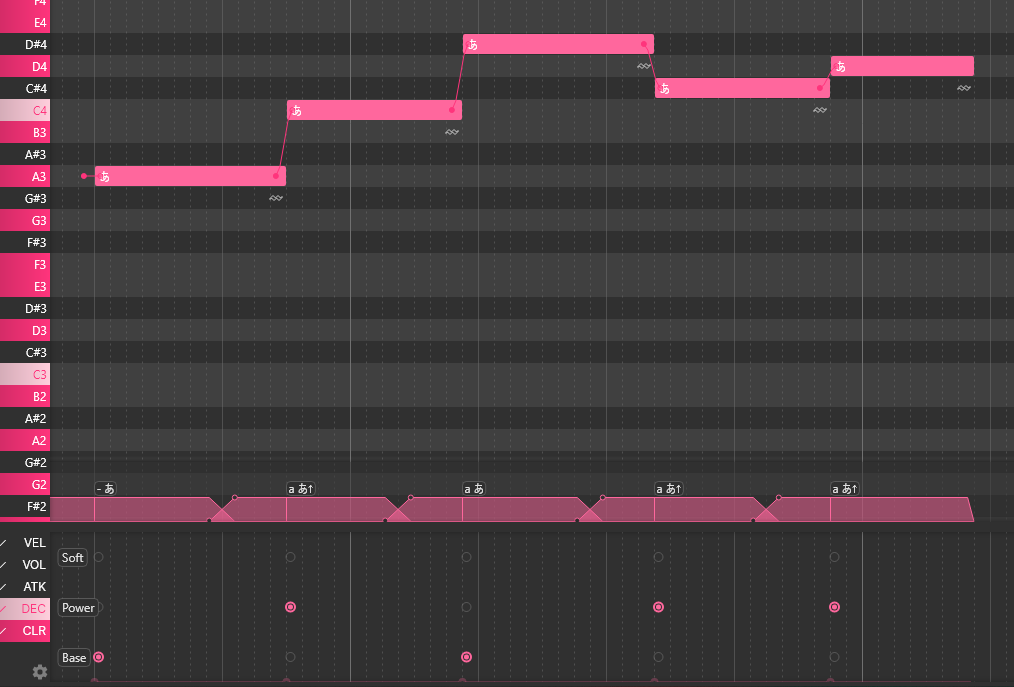
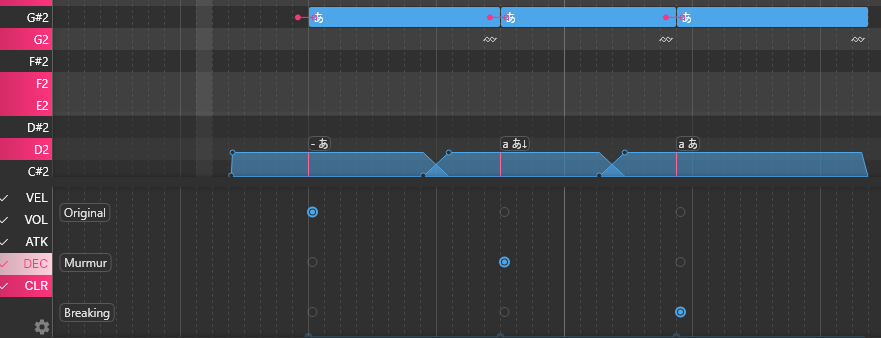
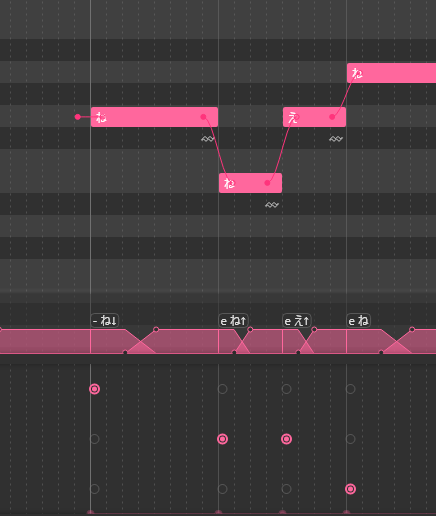
A triphone or triphonic is a sound consisting of three basic phonemes. Phonemes are a distinct unit of sound used in language, such as “k” “d” “p”. VCV utilizes triphones to create a smoother, more lifelike vocal than CV by “stringing” three phonemes together. So, within VCV, a triphone would look something like “a ka”. So long as the voicebank has a high-quality OTO, UTAU will blend together the starting and ending vowels of one note into the next, creating a fluid voice.
Numerous members of the community will argue for and against VCV’s ease of use. Many claim recording and configuring VCV is more difficult and time-consuming than VCV, but that it is more straightforward to utilize and, ultimately, procures a better sound.
Using VCV
Let’s learn how to use VCV in UTAU! First, load up the desired Voicebank and UST file (if you have one). There are two scenarios here: the UST is either formatted for VCV or it just isn’t. Not every UST comes in VCV format, but you may really, really want to use the UST. Fear not, there are many options to remedy this situation!
The tedious method that we aren’t going to actually consider a method, but rather a painful last resort: Add the preceding vowel to the lyric: Let’s say you have two notes “か” (ka) and “あ” (a). Simply add an “a” in the same note as あ. Simply, あ now becomes “a あ”.
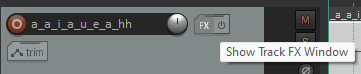
The easiest method (that, unfortunately, costs money): UTAU Shareware: If you have the shareware version of UTAU, you can simply hit the auto VCV button, and UTAU will turn the vowels into VCV!
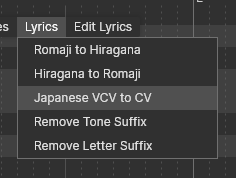
Other methods: Plugins: Some plugins may convert the CV vowels into VCV without altering the rest. Others may turn the entire UST into VCV. Experimentation is key! IroIro is our favorite recommendation, as the plugin has many other useful features packed into it as well.
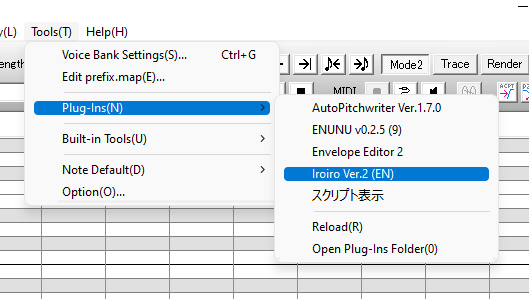
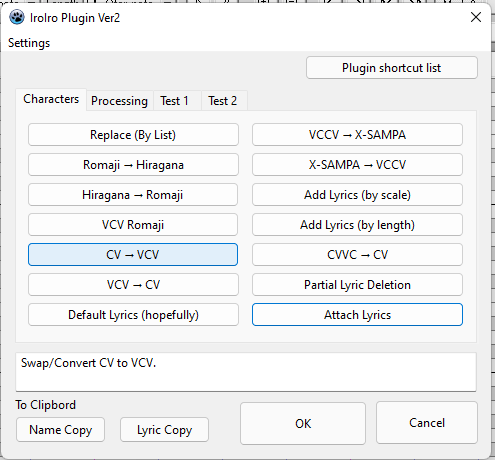
If you have IroIro Installed, follow Tools > Plug-Ins(N) > IroIro. Select CV -> VCV and click OK.
Once your UST is in VCV format, you are ready to proceed.
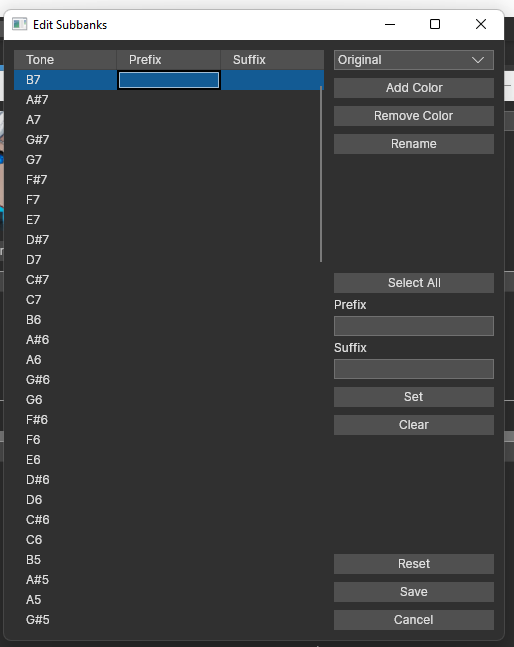
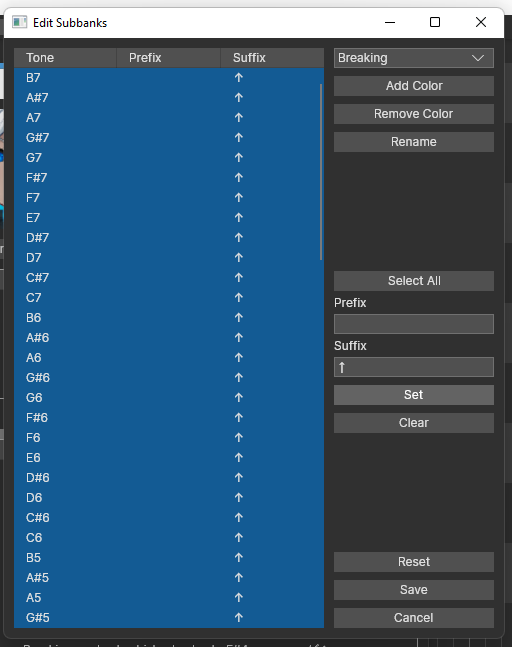
Fitting a UST to a VCV Voicebank
Fitting a UST file to a UTAU Voicebank will definitely improve the sound and make your covers appear more professional. By fitting the UST, you are telling the software to conform to that particular UTAU’s configurations and setup (OTO). This is an important step if the UST was not explicitly made for the UTAU you are using, and it helps to improve the fluidity and clarity of the voice. So, let’s do it!
To start:
- Open a UST file
- Select all (Ctrl+A)
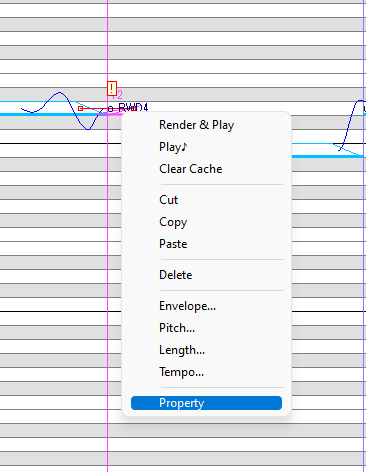
- Right-click on a note
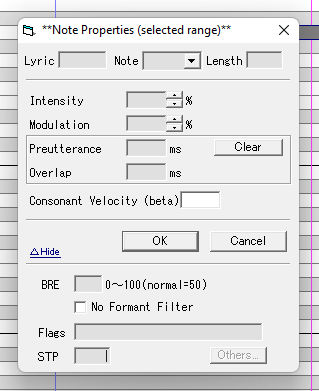
- On the pop-up, select “Property” or “Region Property” (if you selected all notes). A new window will appear.
You may notice sections on this window labeled “Preutterance” and “Overlap”. To their right, there is a “Clear” button. We want to click that.- Next, at the bottom of the window, there is a box labeled STP.
- If it has a value, delete it.
- If the box is grayed out, double-click the box to clear it.
- Press “OK”
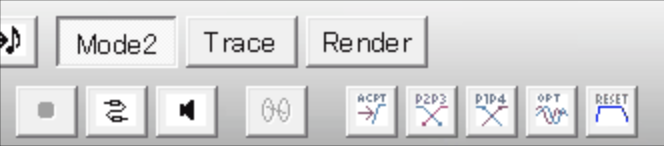
- In the top right of the main window of UTAU, you will see a group of four buttons (ACPT, P2P3, P1P4, RESET).
- Click RESET
- Then click P2P3
- Next, P1P4
- P2P3 again
- Click ACPT (You can click this multiple times if you see any red “!”, and it may take care of those. More on that in just a second!)
- That’s it! You’ve fit the UST to your VCV Voicebank

Special Characters, Envelope Issues and Other Problem Samples
Special Characters
While fitting a UST to your UTAU, you may find errors highlighted as red “!” along the way. VCV is a popular method and widely employed, so a user may run across custom notes, properties, and expressions within a UST. Your UTAU may not have these special notes and sounds, so, we need to run through a few options.
- Manual removal
- Simply edit each note, one by one, and delete the extra symbols.
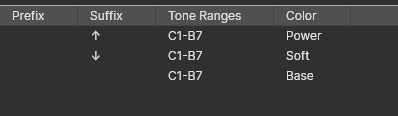
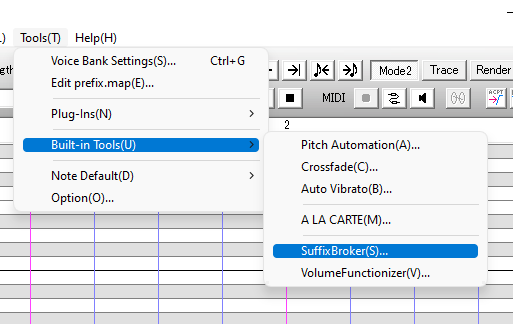
- SuffixBroker (for custom characters at the end of a note such as an up or down arrow, a number, or another special symbol)
- Select the notes you want the characters removed from
- Found under: Tools > Built-in Tools > SuffixBroker
- Leave the box blank, click OK, and now the Suffixes are gone! PLEASE NOTE: this does not always perform 100%. Make sure to double-check your work.
- Third-Party Plugins

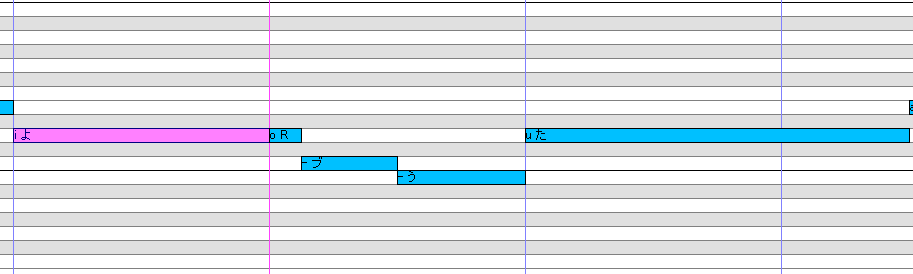
Much better!
Envelope Issues

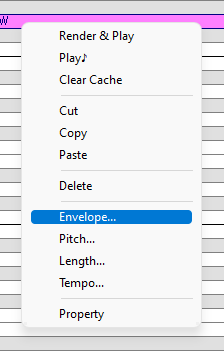
The error still shows up, and, more confusingly, the sound sample exists and your oto is fine. Grr… Now that’s frustrating! But we have a fix. Let’s check and edit some envelopes!
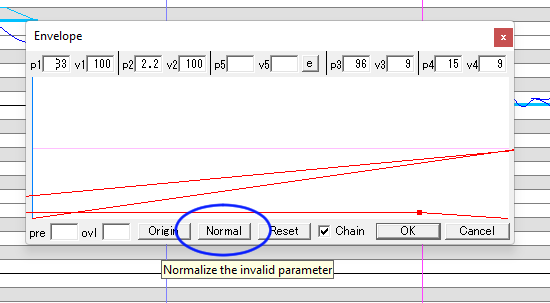
Very carefully, right-click on the note. A new pop-up will appear. Hover down to “Envelope…” and click on it.
And…
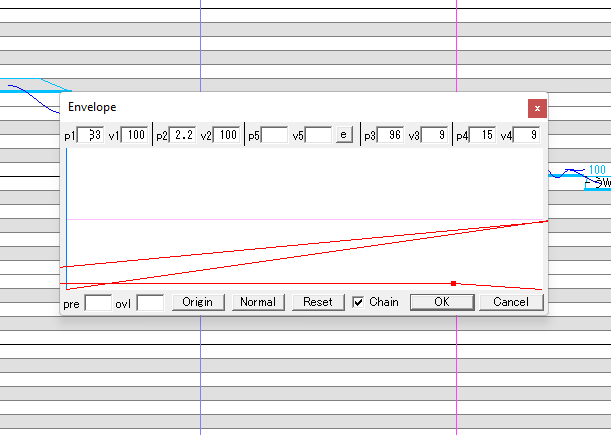
YIKES! That’s pretty bad! Worry not, there’s a simple fix. Let’s click “Normal”. 9/10 times, that does the job.
If the error still persists after hitting “Normal”, simply drag the red boxes around until they look, well, normal. Click OK and it should be good to go!
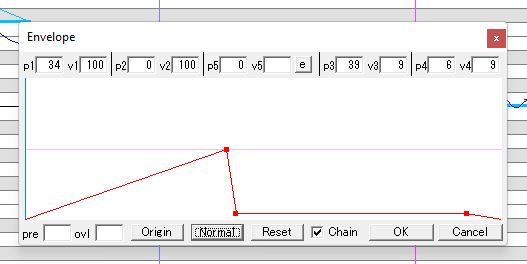
Much better, and now our “!” is gone. We are ready to tune and mix!
Other Problems
Some users may experience odd glitches. If you play the track back and notice slurring happening, you may want to change what notes you select. In our experience, selecting only the notes tends to help. Sometimes, hitting Ctrl+A selects rests and other unique settings that cause the fit to mess up. Click the first note of the vocal track, and then scroll to the end. Select the last note by holding down Shift, then left-click the lyric. Fit the UST again, and it should work!
Conclusion
Today, we’ve covered quite a bit about how to use VCV UTAU Voicebanks! With these tools, you should be ready to dive right in. We hope this resource has been a big help.
Need more assistance with UTAU and creating your very own voicebank? STUDIO OGIEN has compiled resources to use with the UTAU software. Check it out here! If you can’t find what you’re looking for, please let us know through our contact form or leave a comment on this article. We can’t wait to see what you create!