Introduction to Multipitch, Multiexpression Voicebanks in OpenUTAU (as of January 2022)
Before We Begin
This tutorial is a bit much, and it acts as Part One to our Voice Colors blog! Today, we want to go over how to set up Multipitch, Multiexpression voicebanks in OpenUTAU. The tutorial assumes you understand the following:
- How Multipitch voicebanks work in UTAU
- How to use and set up a Prefix.map
- Suffixes and Prefixes, and how to use them to create Multipitch
This tutorial also assumes:
- You have operational voicebanks prepared
- All of your pitches and expressions, for each voicebank, have a different suffix
Lastly, we are not experts! We are learning along with our community. There may be more than one way to perform the following steps, and things may change in the future as OpenUTAU develops. We will do our best to keep this blog as up-to-date as we can, and we will come back to make edits when necessary. Knowing that, let’s dive in!
Getting Started
We know now that it’s possible to set up Multipitch, Multiexpression Voicebanks in OpenUTAU. Today, let’s go a step further and use our knowledge about Voice Colors and PrefixMaps. Let’s get into the nitty-gritty and set up something a little more complex!
For this example, I will be porting over an existing UTAU with five different appends/expressions. As this is not a STUDIO OGIEN created UTAU, we will be redacting the name to avoid confusion. We do not manage or act as user support for this voice, and the following tutorial is only for educational purposes. Now, let’s set this up!
To start, I have downloaded all 5 expressions as well as organized and extracted them on my Desktop. For the sake of sanity, I have also prepared six new folders for extra samples to help keep organized during the process. Make sure to keep the original compressed files as a backup, just in case.
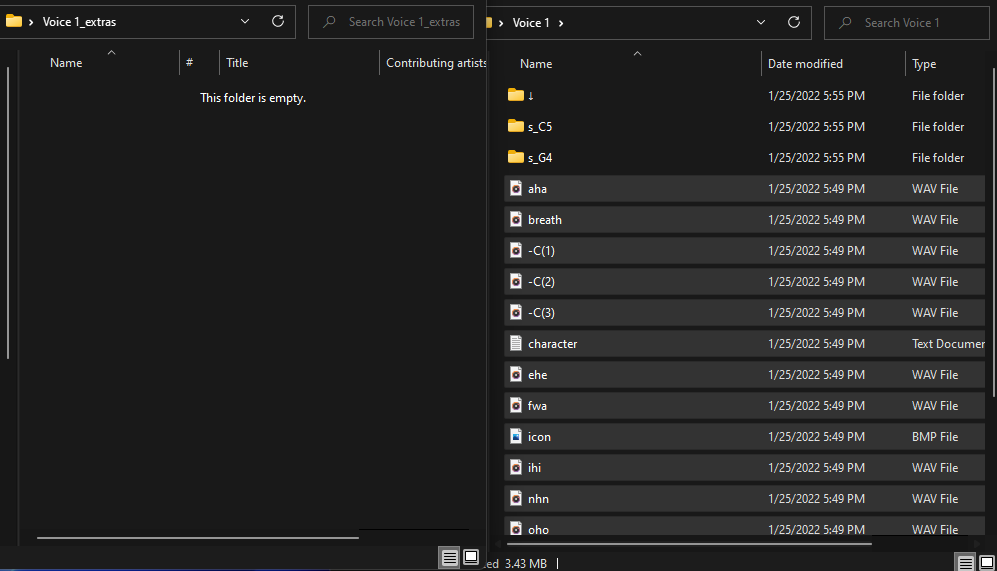
Let’s begin inside Voice 1’s folder. I have Voice 1_extras open alongside it. Let’s delete the $read. Next, if you have breaths and other samples, let’s sort them into the _extras folder for now.
Alright, now that we have cleaned up, we are left with the following three folders, each containing a unique pitch.
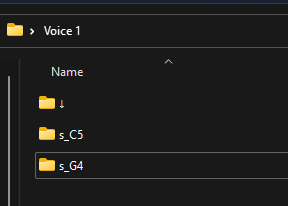
For the sake of organization, let’s rename these folders. For this example, I will name this Voice 1_[original folder name]. Go ahead and repeat these steps with the next expressions.

Finding Pitches For Mystery Files And Unsorted Folders
As I began to clean up Voice 2’s folder, I noticed a small situation. We have a bit of a dilemma on our hands!
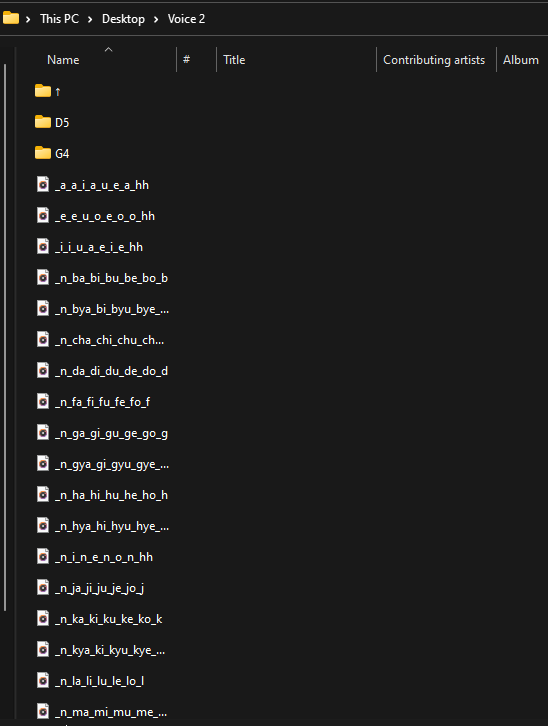
One of the pitches for Voice 2 is in the main directory, it hasn’t been labeled with the pitch’s name, and there is no Suffix in the oto.ini. If this is your own UTAU, and you know what the pitch is, go ahead and throw these samples into their own labeled folder. If this is not your UTAU, make sure you check the readme files provided to figure out the pitch. However, let’s say there was no documentation to help. We can still find the pitch, even if we’re not musically inclined. I will show you how to find the pitch using REAPER!
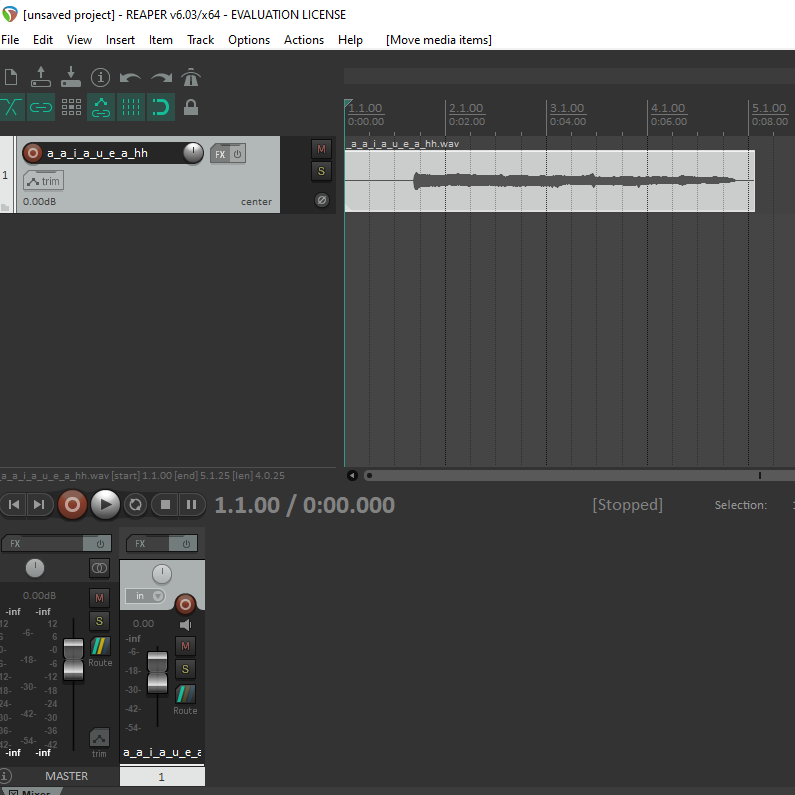
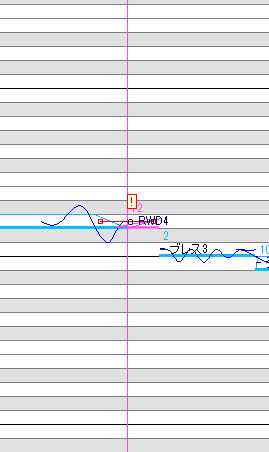
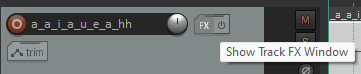
After opening, drag and drop a sample into the track. To understand what pitch this sample was recorded on, I’m going to add an FX to the track called ReaTune.
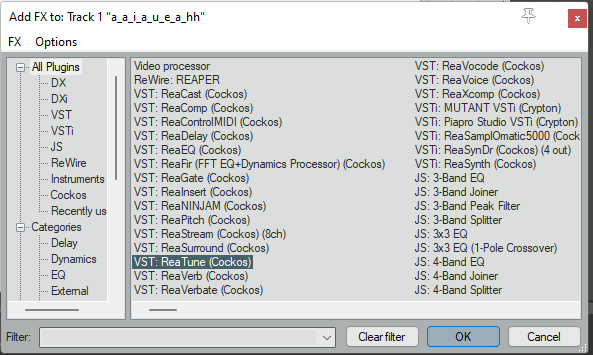
Hit OK, and you will see a new window pop up. Play the track and watch REAPER works its magic.

The pitch will waver, so pay attention and try to find the average. If you can also find documentation on the voicebank, that will help a lot as well. Create a new folder with the pitch’s name, and move the voice files into it. Let’s proceed!
What To Do With Unique Samples and Other Files
What do we do with our extras, now that our folders are set up? Well, that depends, and it can be done in many different ways. For this particular Multiexpression OpenUTAU voice, I’m going to put in a little more manual effort to make sure these notes always work.
Let’s open Voice 1_extras back up alongside Voice 1.
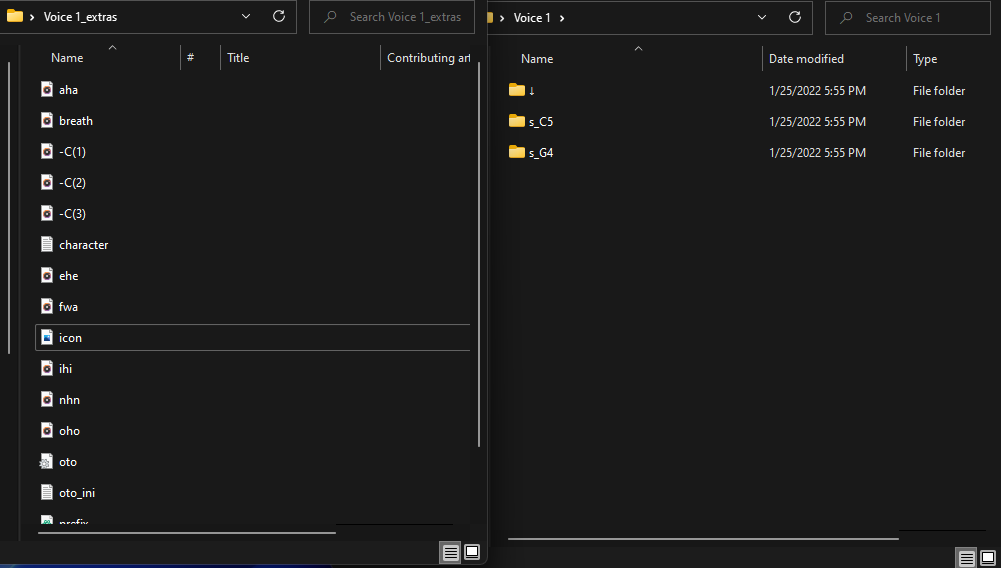
We want to still save the readme files, the character file, and the icon to merge together later on. For now, I will leave those in this folder. However, for the voice samples, it’s a little more complicated. In this example, the extras are recorded for only one pitch. Normally, these would be useable in regular UTAU, but with the nature of these Multiexpression OpenUTAU configurations, we need to define them more clearly for the program to understand what’s going on. So, gather your Suffixes and get ready to copy-paste, and copy-paste a lot at that.
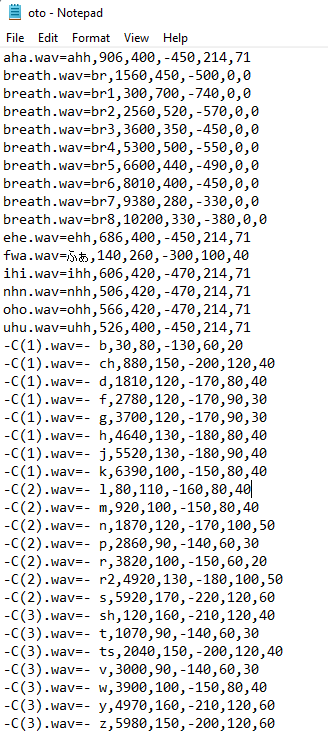
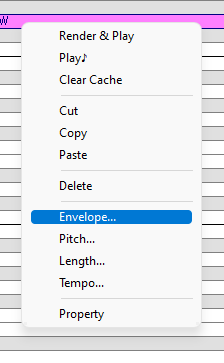
Inside the oto.ini, we can see the extras lack a Suffix. That’s fine, as one pitch in this particular expression does as well. For that, we will copy paste the voice files into said folder. Once copied over, open the oto.ini file within that folder, and copy+paste the lines for your extras within. Now, this pitch knows how to use these samples.
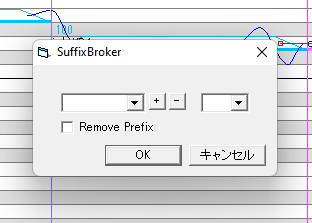
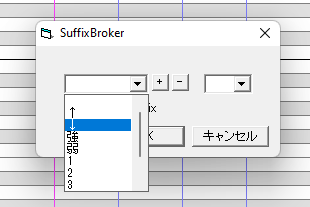
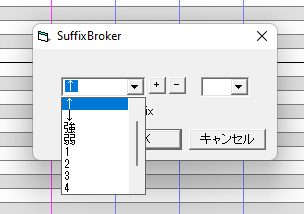
For the next pitch, you will have to add the suffix in by hand. Once you’ve added in the suffix, copy and paste those oto lines into the oto for the next pitch. Example:
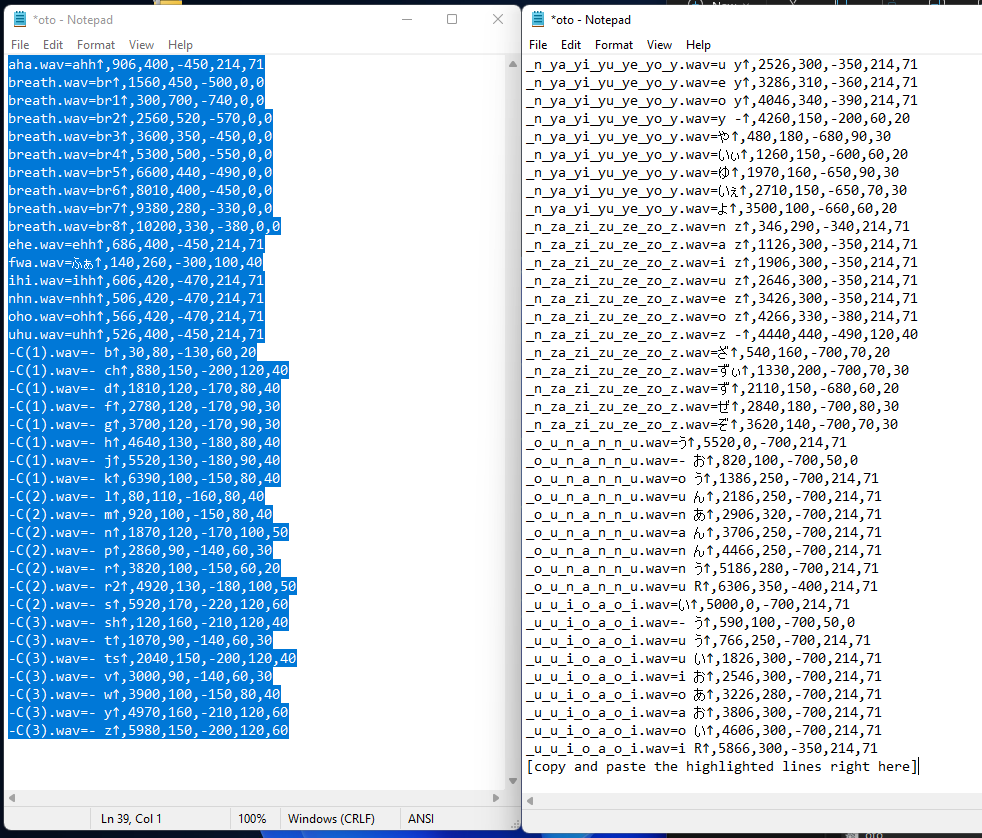
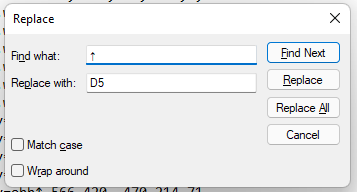
Copy and paste the extras into the folder. For the next pitch, just hit Ctrl H to bring up Notepad’s search and replace. Just be careful what you put into it. Always double check your work!
Configure the rest of the extras and we can proceed!
Putting It Together With Voice Colors
Now that our files are ready, let’s move them into a brand new folder. Create a new folder, this one you can name whatever you please. For this example, I will call it “VOICE_Master”. VOICE_Master will need a few special files.
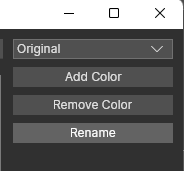
First, let’s gather all the readmes, character files and icons. Decide what icon you would like to use, and set up the character.txt accordingly. Update the name, author, image, web, etc. as you see fit. Next, it would be best to label each readme to refer to the proper voicebank, or combine them all into one. Once finished, you will want to place these within the VOICE_Master folder.
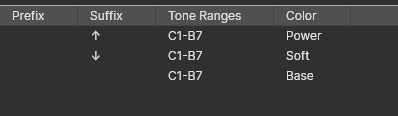
Next, it’s time to place each pitch into the main directory. PLEASE NOTE: You must place individual pitches into the main directory. Splitting the pitches up by expression (ex: VOICE_Master/Voice 1/1_G3) will not work, and OpenUTAU will split the expressions up. Rather, you want your setup to mimic the one below:
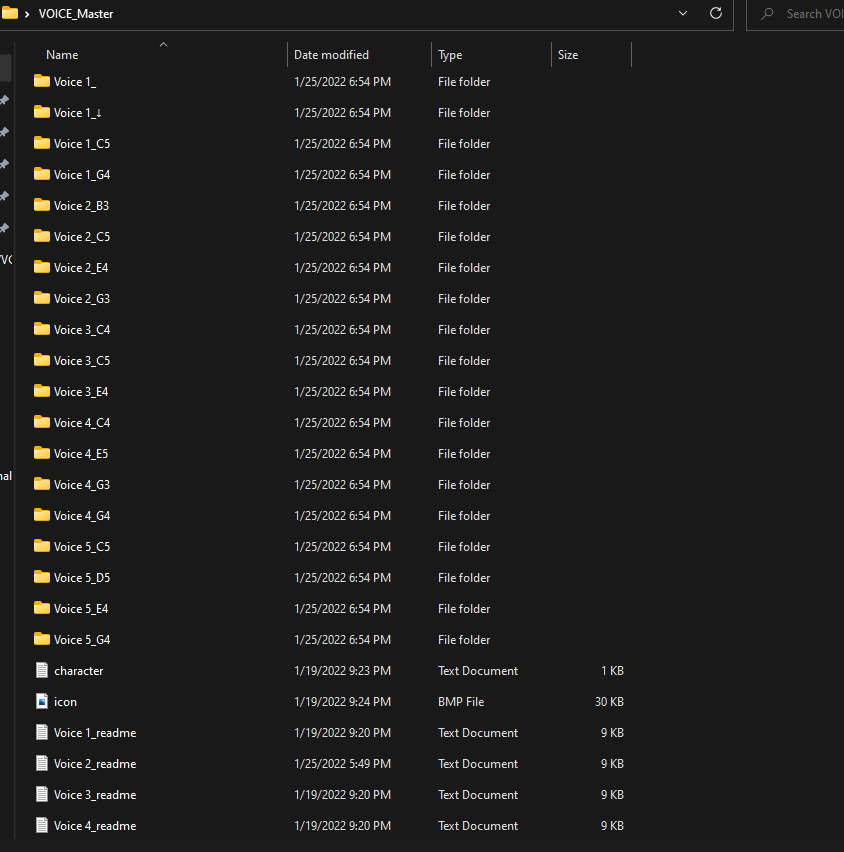
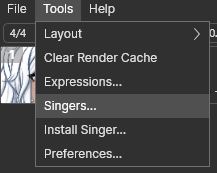
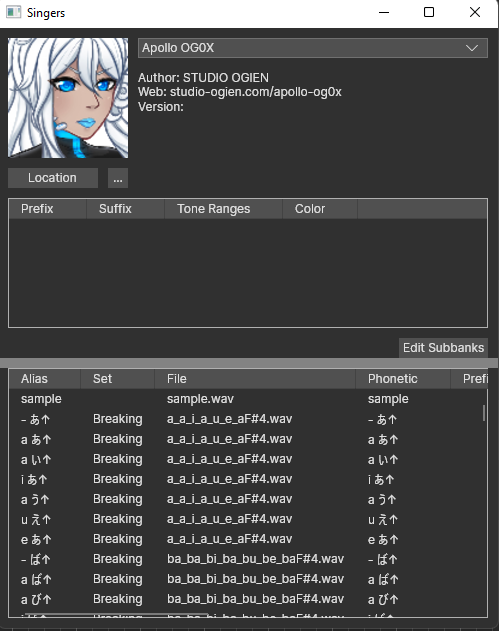
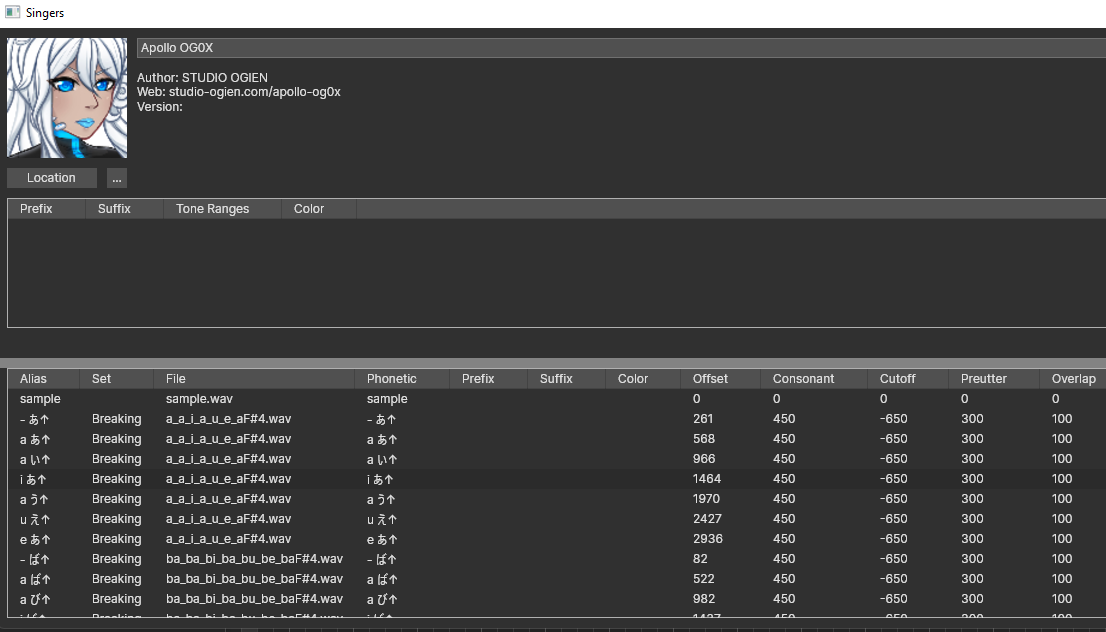
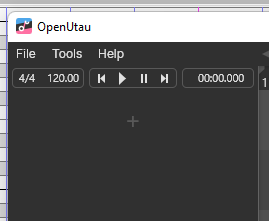
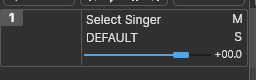
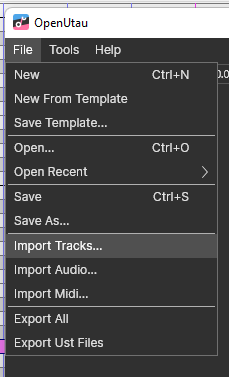
Let’s compress this bad boy and import it into OpenUTAU!
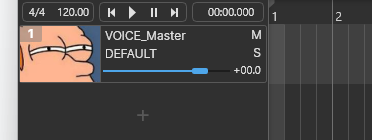
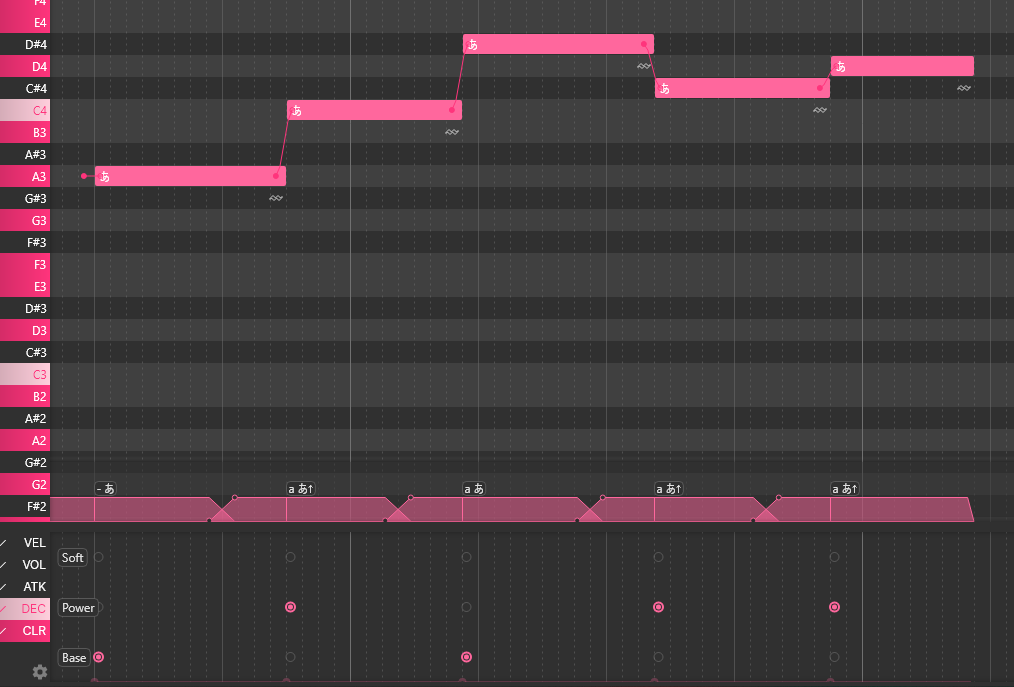
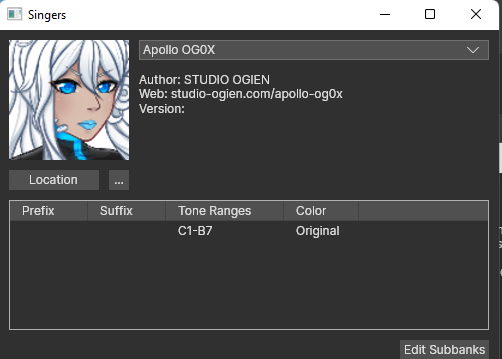
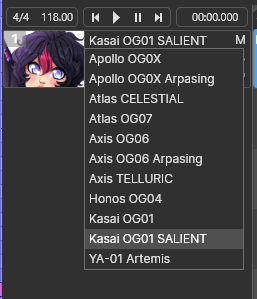
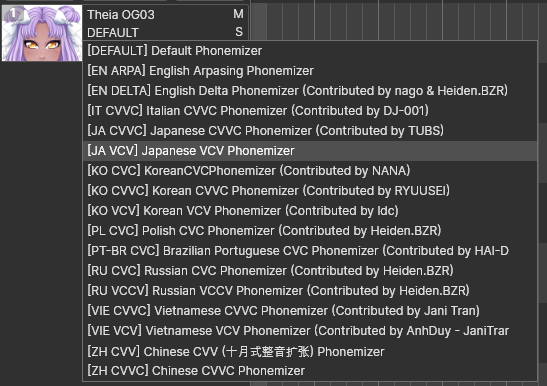
SUCCESS! The files are recognized as one voicebank. Exactly what we need for part two.
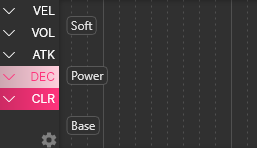
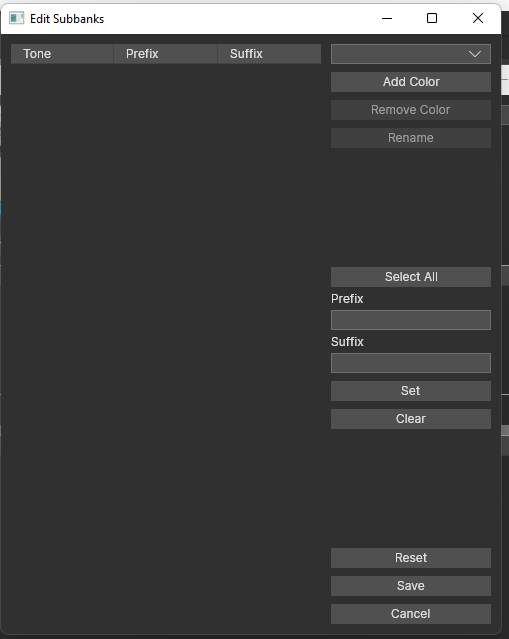
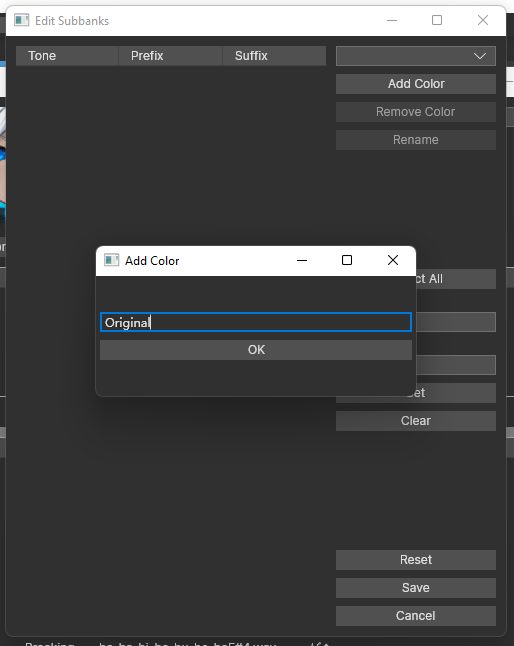
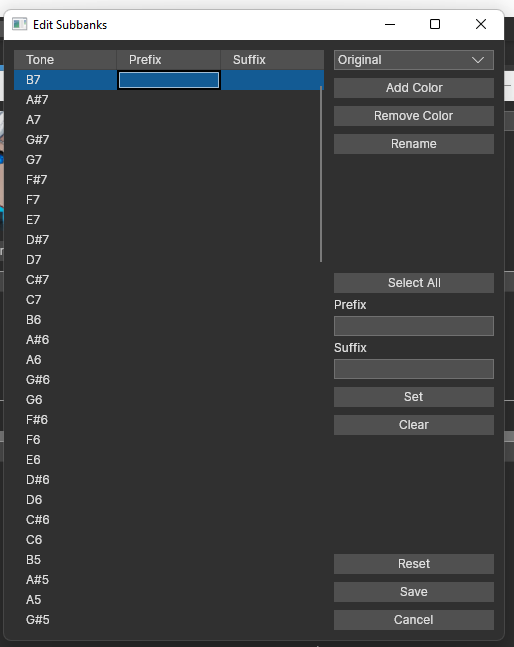
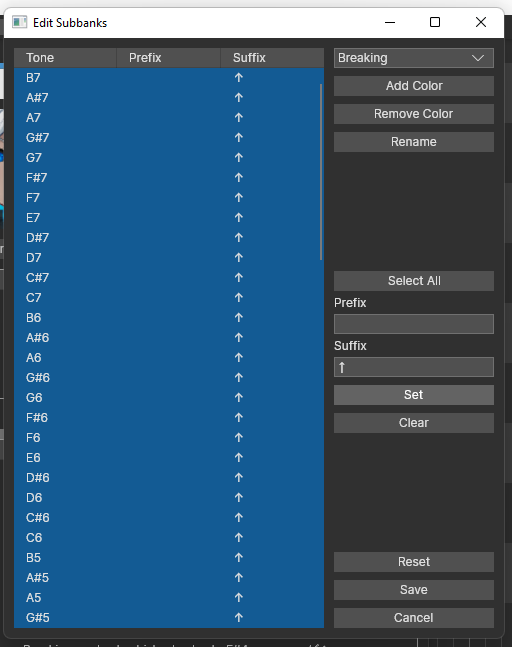
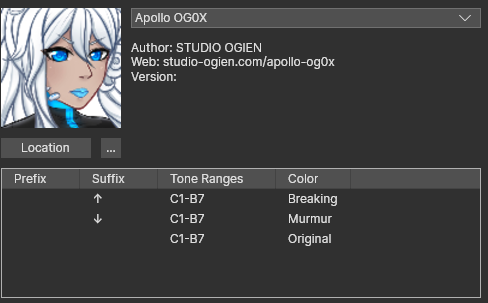
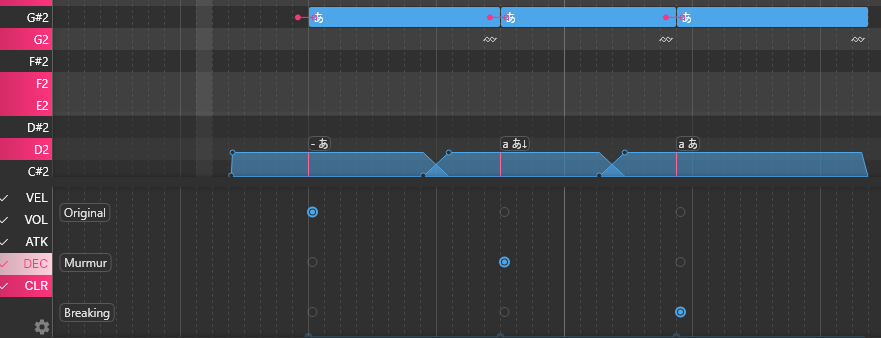
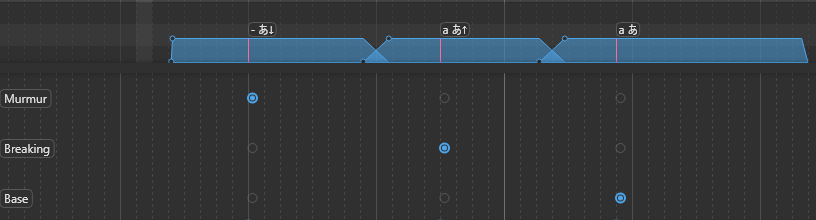
From here, you can follow our tutorial on OpenUTAU voice colors to achieve the desired effect.